We love pancakes. But do you know what we love more than pancakes, Reader? Flapjacks!

Yes, they’re essentially the same thing, but how much more fun is it to say ‘flapjacks’ (picture a super-excited lumber jack saying that, fork + knife in-hand) than it is to say ‘pancakes’ (totally said by a nerdy scientist with a Droopy Dog voice)?

Stupid scientists.

This recipe is based on the Gluten-Free Goddess’ write-up, adapting it to make it vegan-friendly + using a wider range of gluten-free flours as the base. We’ve found that many gluten-free flours, while great, can have a perceivable grittiness (rice) or distinct flavor (garbanzo, millet) that sometimes distract from the gestalt of certain dishes. All of the flours below should be easy enough to find at your local health food store. We used all Bob’s Red Mill. 

Dry Ingredients

◊ 1/4 cup Brown Rice Flour 
◊ 1/4 cup Millet Flour
◊ 1/4 cup Gluten-Free Oat Four
◊ 1/4 cup Garbanzo/Chickpea Flour
◊ 1/4 cup Almond Flour 
◊ 1/4 cup Potato Starch or Tapioca Starch 
◊ 1 1/2 teaspoons Baking Powder 
◊ 3/4 teaspoon Salt

Wet Ingredients 
◊ 1 3/4 cup Almond  Milk (or other Non-Dairy Milk) 
◊ 2 Flax Eggs (see below) 
◊ 4 tablespoons Canola Oil 
◊ 1 tablespoon Agave Nectar 
 1 teaspoon Vanilla Extract 
◊ 1 teaspoon Almond Extract

First, the egg replacer. We used to use Bob’s Red Mill Egg Replacer, which was pretty effective, but essentially a mix of garbanzo flour and wheat gluten, making it not so gluten-free. Since making the move to lessen the amount of gluten we introduce into our diets, we’ve discovered (via the internet + the hard work of others) “flax eggs”. Flax eggs are one part ground flax seed (again, easily findable at your local health food store; also made by Bob in his Red Mill), three parts cold water. Once whisked together in a small bowl, chill it in the fridge for at least 10 minutes. The resulting consistency is frightfully reminiscent of a runny egg, making is great for baking and the like. We use the conversion of 1 tablespoon ground flax + 3 tablespoons of cold water chilled = 1 egg. So, whip that up and set in the fridge while you prep your dry ingredients.

Heat a heavy-bottom, ideally cast iron skillet over medium heat. In a large mixing bowl, whisk together your dry ingredients. Now form a small well int he middle and add your wet ingredients, including the flax egg, and beat to mix everything together into a smooth batter. It shouldn’t be too thick—you want to be able to pour it into the skillet and have it stop expanding on it’s own over the heat to form a good sized flapjack. 

We like to test the heat and the viscosity of the batter by making a tiny test pancake first. Our dog, Owen, also enjoys it when we do this. Once you feel good about the heat + consistency (add a little almond milk and stir if it’s too thick; add a little bit of one of your flours and mix if it’s too thin), start in on your human-sized flapjacks, pouring out and carefully flipping after tiny bubbles have formed all over the uncooked side of the flapjack. Check on your first one though to make sure you’re not burning the underside too though. After a couple flapjacks, you’ll geta  good sense of the rhythm. You can then stack finishes…jacks?…on an oven-safe plate, storing them in a warm over until you’re done. 

Top with vegan margarine, real maple syrup, shaved fresh cinnamon and nutmeg, or whatever you like.


We love South Brooklyn, but I think it’s fair enough to say that North Brooklyn’s had a leg up on us for a while when it comes to solid Mexican food. They’ve got Handsome Taco, with their vegan Cornejo + Santa Cruz burritos, their vegan sausage at brunch, and their spicy cucumber margaritas; they have Papacitos, which was the hands-down premiere destination for great Mexican street food with superb vegan options…before they went severely downhill; they even have a Brooklyn outpost of late-night, old-school destination, San Loco (cue auto-audio if you click on that link; cue jacket that smells like refried beans for three days if you visit).

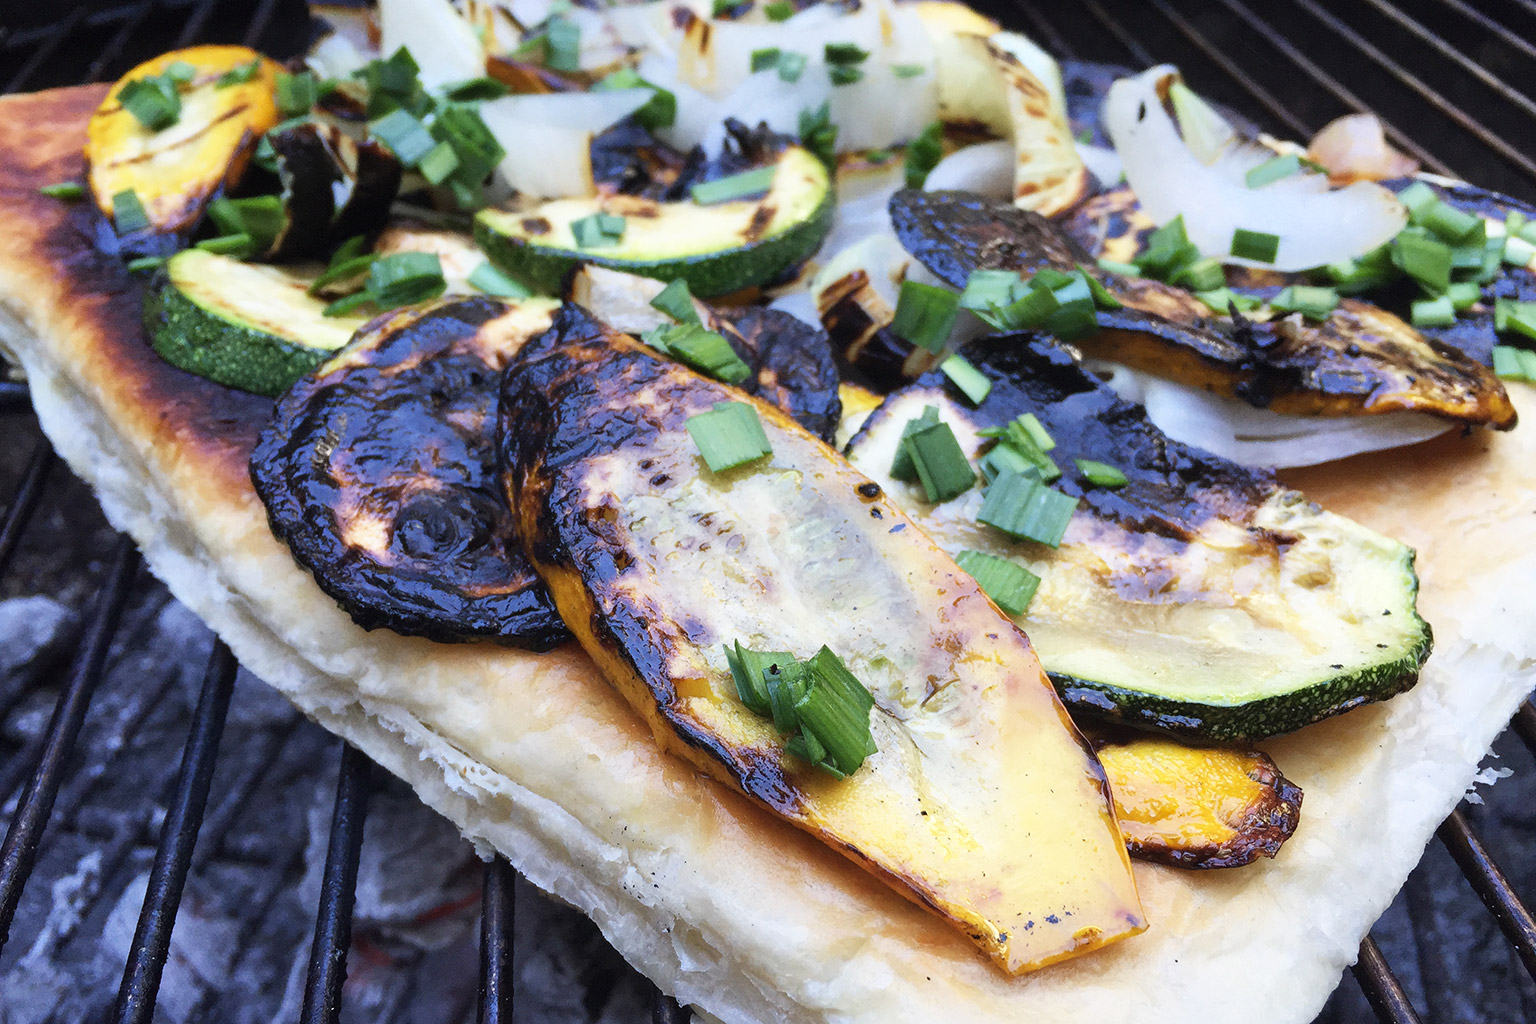
But Oaxaca Taqueria, with locations in Park Slope + Cobble Hill, has long been our go-to when we’re craving California style tacos with fresh and pickled vegetables. They’ve long featured vegetarian staples with their potato + pablano pepper and cactus options.

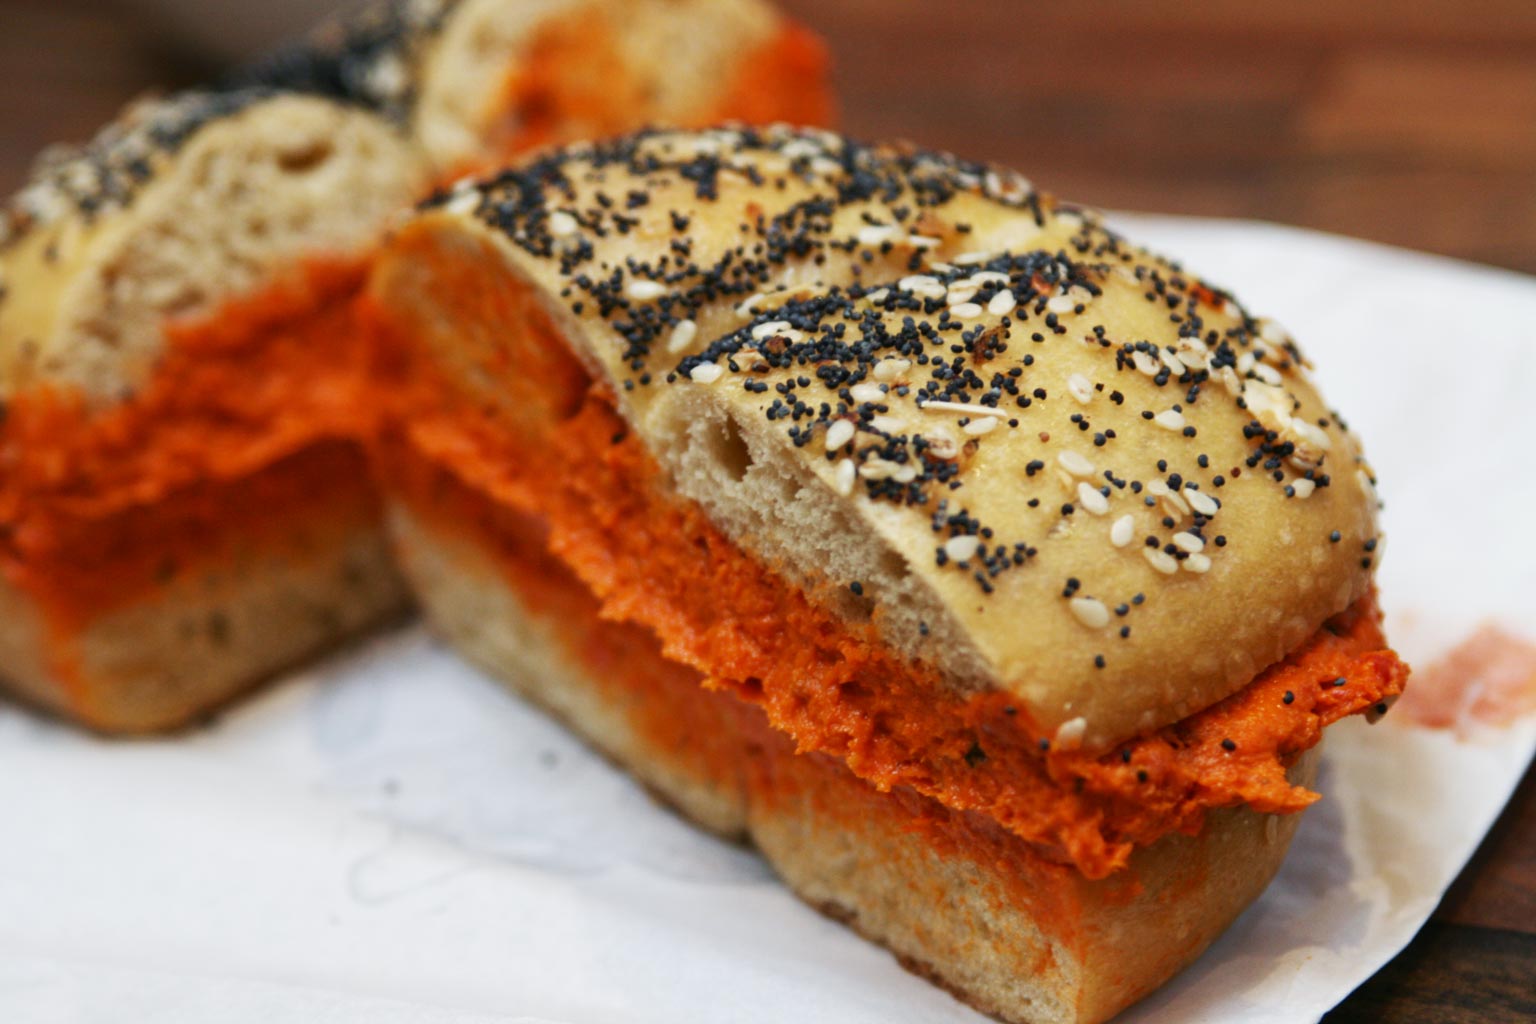
Now the taqueria has now expanded their animal-friendly offerings by adding a vegan soy chorizo, pictured above. Just be sure to ask for it without the queso.
Manhattanites, despair ye not—Oaxaca has locations in the Village + Upper West Side.

Here’s a really nice, comprehensive, easy-to-digest (get it?) infographic on veagnism + the environment from a somewhat strange source—CulinarySchools.org.

Though we’ve never heard of the site before and it essentially seems to be a resource for those hoping to go into culinary careers or find free food clip art—of, course, a smiling kangaroo holding the world in one hand and a mug of beer in the oth…wait, what?—their facts do seem to be well-backed-up (see source at bottom of graphic). So we’ll take it! Plus who doesn’t like jolly roos, mate?

So, no pressure or anything—you know us—but, if you hold dear, say, the environment and, say, the future of our existence as a species, you should totally go vegan. Added benefit—all those animals you’ll save! Huzzah! It’s win-win-win!Veganism by the numbers.
Infographic by CulinarySchools.org

We’re 100% obsessed with the peanut butter + jelly cookies from ‘sNice, the vegetarian café in Park Slope + lower Manhattan. We stopped by the other day and are still kicking ourselves for not leaving with a tote bag full of them.

Essentially, they’re simple, extra-moist, extra-thick little peanut butter cookies with an indentation in the middle full of grape jelly. But that mundane description doesn’t come close to capturing the pure, adolescent joy these confections bestow upon their lucky consumers.

Excuse me while I gently weep just a bit for not having this prized delicacy in my possession today, Reader. And for my laziness at not wanting to walk down to Park Slope right now. Woe is me. Woe. Is me.

A good while back, Katie + I were out and about in Cobble Hill with a group of friends when we all decided it was high time we got some food in us. We ended up settling on one of the many en vogue drink-forward places in our neighborhood that support their cocktail menu with simple fare that focuses on high quality ingredients. Most of these joints are pretty un-animal-friendly—these are the same places that will wrap bacon around anything—but a few cater to vegans somewhat, drawing on local fare to highlight the qualities of the vegetables. One such dish was an egg-free sweet potato gnocchi at the establishment in question, Char no. 4, a whiskey bar + restaurant on Smith Street. 

Char rotates the dish into their menu every now and then, but, upon having the gnocchi, Katie + I made replicating it at home a priority. 
What’s detailed below isn’t an exact replica but, rather, our take on it, adding in flavors that we think play well together and going for a gluten-free option with the potato dumplings.

The gnocchi themselves may seem challenging, but they’re really not tough to make at all. It’s all about getting the dough mixture down. The added starch allows you to get a nice stiff batter that’s rugged enough to not fall apart when you’re cooking it though. Gnocchi’s usually boiled, but we think sauteing them gives them a nicer flavor and keeps them whole better.

Give it a try and see what you think.

Sweet Potato Gnocchi with Wilted Spinach + Maitake Mushrooms 
◊ 4 medium Sweet Potatoes
◊ 1/2 pound Fresh Maitake Mushrooms
◊ 1 bunch Fresh Spinach or 1 bag packaged
◊ 1 large Yellow Onion
◊ 6 cloves Garlic
◊ 1/4 cup Corn or Potato Starch
◊ 1/8 cup Oat Flour
◊ 1/8 cup Tapioca Flour
◊ 1/4 cup Vegetable Broth
◊ 1/2 cup Dry White Wine
◊ Salt + Pepper
◊ Olive Oil

We usually fall soundly into the Anti-Peeling lobby. Though it’s not necessarily true that vegetables hold all of their nutrition in their skin, they do hold more depth of taste there, in our opinion. So, assuming they’re cleaned well and grown without harmful chemicals, we usually leave our vegetables un-skinneed/-peeled. In this case, though, the sweet potatoes should be peeled to allow for a more consistent, smooth gnocchi dough. Once they’re peeled, chop them into cubes, roughly an inch or two square.

Warm about two tablespoons of olive oil in a heavy-bottomed skillet over medium heat. Add the sweet potato chunks and cover. Cook for a total of 15 minutes like this, allowing the sweet potato to brown but not blacken and uncovering and stirring every five minutes. At this point, the sweet potato should be softening. Add the vegetable broth—ideally homemade—and cover again, cooking until the liquid is fully absorbed, usually 5-10 minutes. Once that happens, check the consistency of the sweet potatoes. They should be very soft and easy to mash. If they’re not, add a little more broth or water and cook covered until they are. Transfer the sweet potatoes to a large mixing bowl and allow to cool.
While that’s happening, halve the onion and peel the papery outer skin off. I personally used to be totally hung up on sweet onions like the seasonally dependent Vidalia and it’s winter sisters from southern hemisphere, but, of late, we’ve really been appreciating our local NY/NJ onions, which are less sweet, but very deep and earthy. So, your call on what kind to use, but make it yellow. Slice each half into strips and toss into either the same skillet or a new one over medium heat with a little olive oil. Allow the onion to caramelize and brown slightly at the edges, stirring as you go and cooking for 5-7 minutes before throwing in the garlic, which should be smashed, peeled, and minced. Cook for 10 or so minutes, allowing the mixture to become fragrant and lowering the heat if either the onion or garlic start to blacken.

Keep an eye on all of that as you start in on the gnocchi. After the sweet potatoes have cooled enough for you to work with them, mash them with a potato masher or a fork in the mixing bowl until you’ve got a smooth, lump-free consistency. Now add your two flours and the corn starch and mix together until you’ve got a smooth but stiff dough that peaks a bit when you remove the fork or whisk. For the flours and the starch, we tend to use Bob’s Red Mill. If you’re gluten-free or just experimenting with lessening your gluten intake, you should definitely check out their extensive line of gluten-free flours. Basically, if you can grind it up in a mill, Bob’s sells it.

In another skillet, warm a tablespoon of olive oil over medium heat. Using a spoon or just your hands, begin to roll the gnocchi dough into small dumplings, roughly an inch in length. They should hold together pretty well. If they don’t add a little more starch and/or flour and mix thoroughly. Roll enough dumplings to cover the skillet bottom without having them touch and then add them to the warm oil. Allow the gnocchi to brown, carefully flipping to cook on both sides, usually sauteing for about five minutes per side. Remove and set aside as you move on to your next batch, repeating until you’re out of dough or have as many dumplings as you want.

Back at the cutting board, take the well-washed Maitake and cut it into chunks of about one or two inches square. When you’re cutting the mushroom up, be sure you remove + discard all of the woody material at the base of the stem. We usually get our Maitake from our weekend Greenmarket, which features Orange County, New York’s Madura Farms mushroom vendor as a mainstay. So, yes, we’re a bit spoiled. But you can find them at higher end grocery stores too if you don’t yet have a trusted mushroom supplier, though they tend to cost a lot more and not be nearly as fresh. If you can’t track them down, substitute your favorite other mushroom. Don’t like mushrooms? Eh…I’m not sure why you read this far. So, add the mushroom to the onions + garlic and increase the heat a bit. Cook uncovered for 10 minutes or so, stirring and allowing the mushroom to reduce and brown, maybe even blacken a little. Once that’s happened, add the half cup of a dry white wine—nothing too sweet; maybe a pinot or sauvignon blanc. The heat should be high enough for you to hear an audible sizzle when you add the wine. Lower the heat a little and cook until the wine’s reduced to a nice sauce.

Now take the washed spinach, chop into large strips, removing the stem if you tend not to like it, and wilt for two minutes or so in the covered skillet. Plate with the gnocchi + onion-garlic-mushroom mixture and enjoy.

Not sure which is cuter, the kid or the shirt.

You can get the shirt over at the Etsy shop COUP, a one-woman NYC-based design studio run by FIT fashion design grad + self-described silkscreen addict, Elektra.

Danke to Perelandra Natural Food for finding this one.

We’ve been meaning to hoof it over to Clinton Hill/Bed-Sty since last March, when we heard rumblings of a vegan bakery + super-café opening up shop. This past weekend, we finally made the short trip across South Brooklyn and, MOTHERFUCKER, am I glad we did.

Clementine, owned by Michael Glen + Michelle Barton, is just over the Bedford-Stuyvesant border on Greene at Classon, making it a perfect go-to stop when visiting the warm weather Brooklyn Flea in Fort Greene or the Winter Flea in the clocktower, which we stopped by afterwards this past weekend. The café not only features an army of delicious-looking vegan baked goods—many of which are gluten-free—it also offers a considerable array of creative, really tasty savory sandwiches, each available on gluten-free bread.

From the Tempeh Reuben, with tempeh, apple sauerkraut, vegan mozzarella Daiya, vegan 1000 island dressing, + cracked pepper on a sourdough rye, to the Hot-Chick, with roasted red bell peppers, artichokes, + pesto hummus, this is not a place you’re going to walk out of still hungry.

For the devoted sweet tooths…sweet teeth?…you’ll want to head straight to the sizable front displays, both chock-a-block full of vegan baked goodness. In addition to many daily specials, Clementine keeps an impressive list of mainstays like gargantuan cinnamon buns, impressive-looking muffins, sweet breads, scones, sweet + savory danishes, a rotating inventory of cakes, brownies, cupcakes, and even vegan dog treats.

House grind is Brooklyn-based Kitten Coffee, a local business that roasts single-origin micro-lot beans, “sourced from a small group of coffee growers in Brazil who average no more than 300 bags a year.” Meow.

Top all that off with a cute, cozy, sunny space and some really friendly staff and Clementine’s well-worth the trip whether you live in Brownstone Brooklyn or not.

Check out Clementine’s regular menu for inspiration and, if you’ve got a birthday or another event coming up, contact them via their special order page.

Below: A bunch’a baked good, including the English Breakfast Doughnut (still not quite sure what that is); a stack of oat-y cookies; a raspberry coconut roll; très romantique cupcakes; a gluten-free coconut pineapple cheesecake; almond milk latte made with Kitten Coffee; the Autumnal—sweet braised kale, sweet potato, bbq tempeh bacon, + sage aioli sauce on rye; the house Grilled Cheese—a mix of Daiya cheddar and mozzarella with tomato; and some pretty bread. Mmm. Bread.

I’ve never claimed to be a math whiz, but I think this equation is pretty sound:

good coffee
+
new york state
+
nice packaging design
+
some crows
=
something we would like
Right?

As you might imagine, we gravitated directly to this lovely looking coffee whilst looking to replenish our all-important coffee stash recently. I had recognized the coffee maker—Irving Farm—but seem to remember their original packaging being much less on the awesome side before.

As it turns out, the roaster got their start right here in New York City at a small cafe just up from Union Square known as 71 Irving Place. Realizing they wanted to be more intimately involved with the process, bean-to-cup, the founders of Irving Farm moved a little further uptown. Okay, a lot further, to a farm 90 miles up the Hudson Valley in the Dutchess County village of Millertown. There, they roast their a variety of carefully sourced beans. From their site:


“In sourcing the special coffees we bring to Irving Farm, our primary criteria is quality. We are diligent searchers: on a constant journey, personally traveling to the farthest-flung locales, in search of coffees that are not only beautiful in the cup, but with whose farms we can forge a lasting tie. By building direct relationships and opening long-term channels of communication with producers and others up and down the line, we not only ensure a supply chain that is as transparent as possible, but one that is as strong as possible. Built on mutual respect, common goals, and dedicated to fostering learning from one to another, it is these foundations on which good coffee becomes great coffee.”

The particular bag we zeroed in on—partly due to the philanthropic aspect involved; partly due to the extra-awesome packaging design—was their Rainforest Foundation Project blend, pictured above. It’s a blend of three beans—one from an 80-family co-op in Honduras, one from another cooperative in Peru that’s Fair Trade + Bird Friendly certified and started almost fifty years ago, and a final one from a co-op in East Timor that’s been celebrated by one Ms. Hilary Clinton. The coffee’s certified USDA Organic and Rainforest Alliance and Irving gives a dollar for each bag sold to RA. Oh, and it tastes great. Important.

Visit Irving Farm’s site—which is really well-designed, by the way—to find out more about their sourcing, roasting, and where you can find their products.

You can also order their coffees via the company’s online shop.

Spookily pretty farmhouse photo pilfered from the Irving Farm site.

In almost every way, being vegan is immeasurably easier than it was when Katie + first eschewed animal products back in the mid-nineties. In our rural Virginia college town, there were only a handful of restaurants that catered to vegetarians or vegans back then and, though some of them still hold a special place in my heart, there wasn’t exactly a wealth of culinary choice. Likewise, back then, an average meal for us consisted of Fantastic Foods falafel mix or a Boca Burger with a slice of bright orange, plasticine Tofutti Soy Cheese. But these days, even outside of large metropolitan centers like New York, vegan options in restaurants and chains like Whole Foods have made healthy, cruelty-free foods more commonplace than ever.

But we have a legitimate problem that sometimes makes vegan eating a hard knock life for the two of us—somewhere in the past sixteen years, we got real picky. Alas, we’ve been lucky enough to eat at many a fine restaurant and have gotten to be damn good cooks, so we simply can no longer abide mediocre food that happens to be vegan. And we’ve found that, while we wholeheartedly support the ideas driving vegan restaurateurs’ efforts, far too many either don’t have the culinary chops to consistently create enjoyable food or they rest too much on their laurels, assuming that vegans will eat at vegan restaurants and simply be happy to have the option to do so. Which is one reason we love supporting non-vegan establishments who make great food and are open to offering equally great vegan options.

The Carroll Gardens, ramen joint, Dassara, is such an establishment.

For anyone who isn’t already familiar with upper-scale, non-Cup-Noodles ramen, the curly wheat noodles and dishes involving them were brought over to the states from traditional Japanese culture, where ramen is usually served in a rich, hot broth with fresh + pickled vegetables. Dassara is a self-described “deli-style” ramen, pushing the envelope with modern food pairings and serving such non-traditional dishes as matzo ball ramen, derived from co-owner Josh Kaplan’s aunt’s recipe for the unleavened dumplings.

Kaplan, along with fellow co-owners, Justin DeSpirito + Lana Yang, opened Dassara this past August as first-time restaurateurs. But, other than noticing the positive effects of that—a striking abundance of creativity in the dishes and an eagerness + energy that shines through with both the menu + the warm, intimate space—you’d never guess any of them were new to the restaurant scene.

As DeSpirito told us, “vegan options are definitely something that we think about and have been trying to develop more of. We are constantly experimenting with our menu—with vegan and non-vegan food—and are trying to get the best of what we come up with in the rotation.” With their ever-evolving, rotating menu and delectable vegan sides and large dishes, we’d have to say they’re off to a superb start.

For our money, the star of the show is their mushroom ramen, featuring mixed wild mushrooms, fresh market greens, seaweed strips, scallions, and the richest, deepest, most flavorful mushroom broth we’ve ever had. We crave it weekly at least. If you order it though, be sure to let them know you want it vegan as it usually comes with a poached egg on top.

Dassara also offers a cold dish—sesame Szechuan noodles in a sesame sauce with Szechuan dressing, kimchi pickled vegetables and smoked tofu; a really lovely bean salad with green + yellow beans, edamame, yuba cracklins (deep-fried soy milk skin), corn + celery, tossed in sansho vinaigrette + served on a whipped silken tofu; a miso-eggplant dip with nori seaweed crisps; and—a farmer’s market favorite of ours—shishito peppers, pan-fried over high heat and served with ginger black vinegar. On that last one, be sure to again ask them to be made vegan—sans fish—and ask them to hold the ginger-scallion mayo. Vegan fillings are featured in their rotating bun specials from time-to-time too, so keep your eye out for those.

Justin also shared a brand new vegan dish they hope to premiere this week—a German-style potato salad with pickled seaweed and okra—”a kind of a German/Japanese combination, which has some precedent in traditional Japanese izakaya food.” We’ll take his word on that last bit and assume that it will be just as delicious as everything else we’ve had there.

Dassara is located at 271 Smith Street in Carroll Gardens between Sackett + Degraw Streets and the Bergen + Carroll Street stops on the F + G lines. They’re open from 5-11PM Mondays, Wednesdays, and Thursday; 5PM to midnight Fridays + Saturdays; 5-10PM Sundays; and closed Tuesdays. Their bar is open late and brunch is served 11:30AM – 3PM on the weekend. In addition to all the great food, Dassara also has a nice casual wine list, good rotating draft beers, and an impressive menu of both alcoholic and non-alcoholic mixed drinks.

Pictured below, the mushroom ramen, vegan; their sesame Szechuan noodles; the bean salad; miso-eggplant dip; and the soon-to-premiere German-Japanese potato salad, presentation subject to change. All food photos courtesy of Dassara.


We’ve written in the space before about the CSA (community supported agriculture) group we belong to in Brooklyn, but, for anyone who hasn’t heard it before, it essentially works like this—we pay a lump sum to a farmer; said farmer grants us a temporary ‘share’ of the farm which manifests itself in the form of a weekly allotment of in-season produce; said farmer is thus supported by his/her community rather than, say, Monsanto, and we get a direct line of access to fresh food. Awesome, right? Answer: Right. Highly recommended.

One aspect of the particular CSA we belong to is that, since it’s run by its members, you have to work for a few hours every summer, setting up or breaking down the distribution site and making sure everyone picking up knows what’s what. For us, that’s actually a great thing because it means hanging out in a bucolic community garden in Park Slope and unplugging for a little while.

This past summer, while working such a shift, I struck up a conversation with a fellow CSA member who began telling me how she’d gotten into home fermenting as a way to preserve excess vegetables.

I had the same reaction you likely did—that sounds gross, lady, get away from me. As it turns out though, fermenting is just a form of pickling; the original form, in fact. Cultures across the world have been fermenting food as a means of preservation for thousands of years, the fact that most of us love the resulting taste is just a lucky side-effect.

Added bonus with home fermenting—it’s insanely easy. Honestly. Like many people, I had hesitations, worried I’d grow some sort of harmful bacteria and end up poisoning myself, but it’s terribly hard to mess up if done properly.

When I first started in last year, I was going off of my CSA conversation and a resulting reference to a Web site—Wild Fermentation, maintained by the author of The Art of Fermentation, Sandor Ellix Katz, AKA Sandorkraut. Not kidding. But the process described by Mr. Kraut + my fellow CSA member involved fermenting in an open-mouthed container (mason jars in my case) covered with cheesecloth. So there’s a ton of exposure to the open air, which can prove problematic for me at least. Some pickles came out tasting amazing, like my first one—pickled turnip greens + chili pepper flakes; some came out entirely inedible, like my pickled beets, which grew mold on the surface and tasted…like they had grown mold on the surface. I know. Bleh.

But then, a breakthrough—we attended the Peck Slip Pickle Festival at the New Amsterdam Market where I spoke with Lauryn Chun, founder of Mother-in-Law’s Kimchi and author of the new, aptly named cookbook, The Kimchi Cookbook. Her reaction to my problematic method—close that lid, buddy. I don’t know she used those exact words, but, as she told me, traditional kimchi—which is essentially Korean pickled vegetables (you don’t have to make it spicy or use only Napa cabbage)—was made by preparing the vegetables, putting them in lidded clay jars, and then burying them in the ground. So pretty tightly closed up. Turns out pickling is a result of anaerobic fermentation, so you don’t have to have that access to the air to ferment and it’s a little more straightforward if you don’t.

As soon as I got home, I went to work on a special Thanksgiving pickle (pictured above) using fresh cranberries, red cabbage, and beets. The result—well, I love it, but it’s definitely very pungent and likely not everyone’s thang, so to speak. Point is though, the process worked and every pickle since has gone off without a hitch, producing wonderfully unique side dishes and great condiments when we want to add that sour, unami taste to something, as with the pickled red onions we made (in the background above), which are great with tacos.

So how do you do it? Essentially, all you need to do is bring out the natural lactic acid in a vegetable to create a brine and then contain it while it ferments. To do that, you simply cut vegetables up into pieces—the smaller they are, the more quickly they’ll ferment but larger pieces will give more depth of taste—and then salt them with a good, coarse sea salt. Then leave the treated vegetables on a plate to break down for 45-60 minutes or so, depending on how resilient the vegetable is. If you have a vegetable particularly high in water content, like cucumbers or cabbage, you’ll eventually notice liquid pooling around the pieces. That’s what’ll become your brine. Once it seems sufficiently treated—really shouldn’t be much more than an hour, from my experience—place the vegetables in a sealable container (I use these French hermetic glass terrines, which are much less fancy than they sound) and fill with water to submerge the vegetables if the liquid that resulted from salting doesn’t do the job…which it usually doesn’t. Then place the filled container in a fairly cool, dark place like a closet. Be warned that this space could totally smell funkified after a day or two.

As far as how long you should ferment, it depends on the vegetable, how much lactic acid was produced, and how pickley you like things to taste. Mine usually go for 3 days to a week, but just let it sit for a few days and then start trying them every day until you get a taste you want.

If you’re hesitant still but want to give it a try, I’d recommend picking up The Kimchi Cookbook, which, while not an entirely vegan cookbook, does call out ways to make dishes vegan.

Now let’s get pickled!

Cover photo of Chun’s book and other photos below by Sara Remington.