Last month, we embarked on what, for us, was a new way of using Instagram. We’ve found it to be both highly rewarding and somewhat troublesome and, after receiving some questions about it, we thought we’d do a brief write-up of the process here.
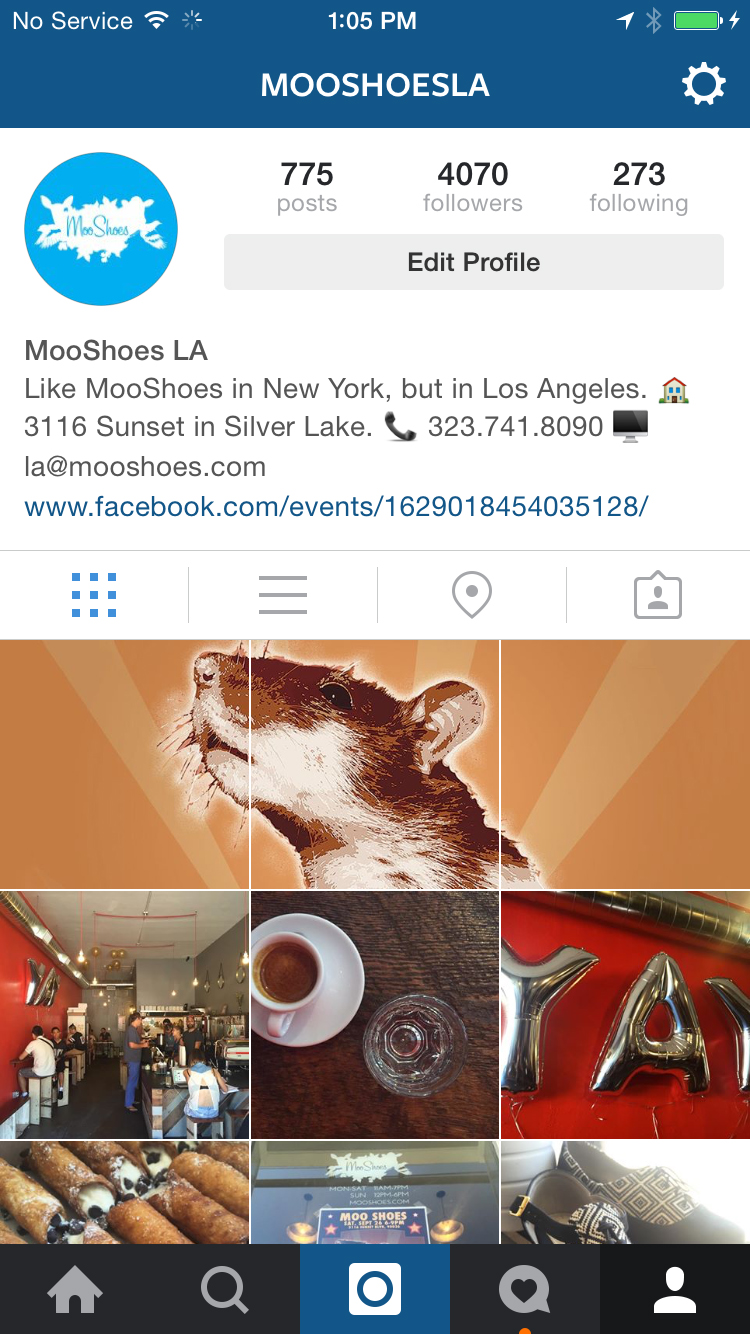
To be clear, we haven’t been using this process with our studio’s account—which dual functions as a personal account for me, Troy, and a professional design studio account—or with Katie’s personal account; this is something we’ve been using with the Instagram account for MooShoes Los Angeles, which we also manage. Many hats, friend. Many hats.
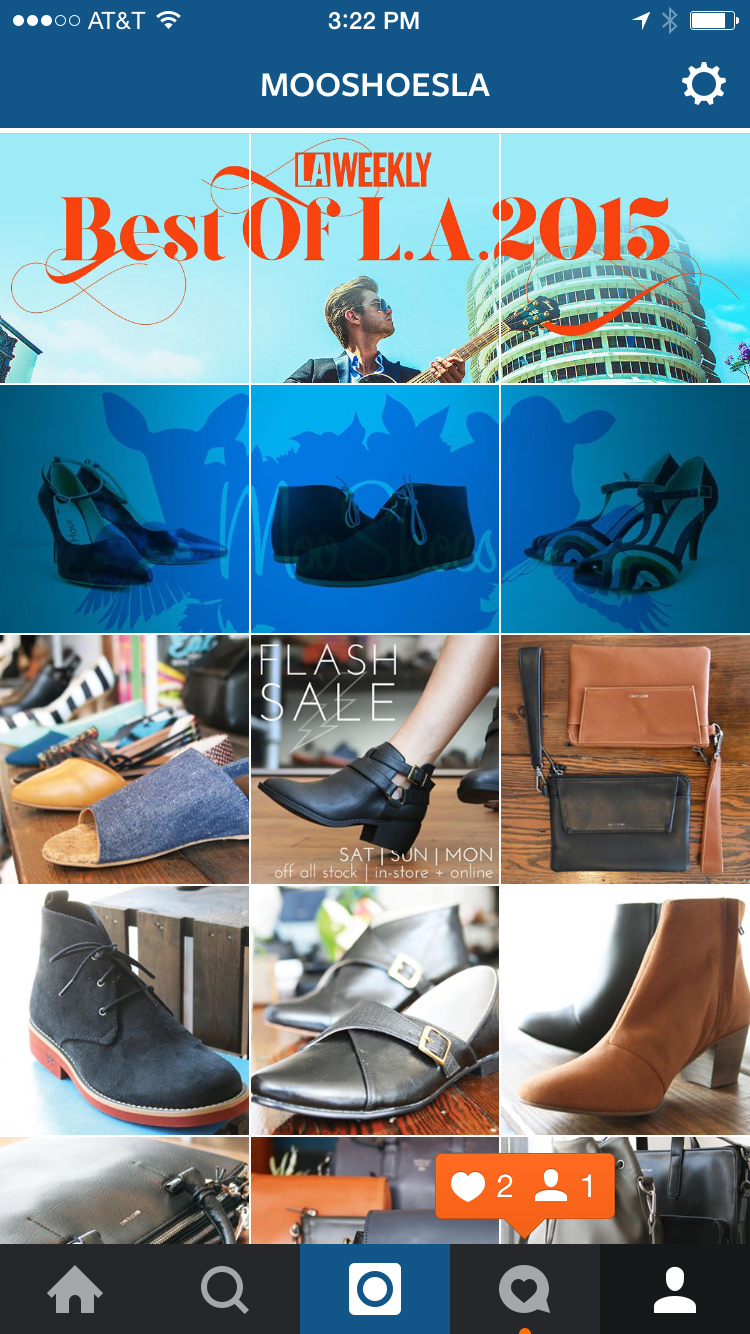
The process, which we’ve been calling set posting, but what’s more commonly called banner posting or tile posting, involves posting pictures in multiples of three to create larger banners when seen together on your profile page, as you see above and below here. This process isn’t really new in the world, it’s more new to us. In fact, there are plenty of third party apps that allow users to do this in a more streamlined manner than the way we do it—like BannerPic or GiantSquare or TilePic—but all of those and other similar apps get mixed reviews due to functionality issues, cost, and/or over-branding themselves on the end images. Plus we’re designers, meaning we love doing things the hard, DIY way.
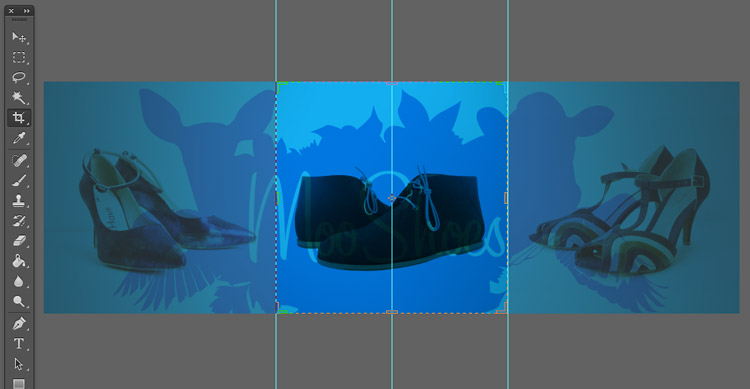
When we post, whether it’s a original photograph or a collage or combination of illustrations or other design, we bring the images to be divided into PhotoShop whole, choosing the 3:1 view that’ll be seen as a whole in our profile view and then splitting up the three individual images with a 1:1 (square) crop and saving each for the Web at least 1080 pixels across (the current retina display quality for Instagram).
Then it’s a simple matter of uploading the three images.
Why do all the work for this? Well, for one, it’s cool-looking—one of the primary motivations for graphics designers in general, I’d say. More specifically, it’s both a way to get an edge over the visual competition for your followers and a way to pull them to your full profile page where your other posts, profile info, and URL are prominent. Providing a piece of the puzzle, so to speak, intrigues viewers and gives a break from the usual posting. From our month or so long experience and comments from users, we’ve noticed that it really engages and excites the audience when done right.
Once you start in and get used to it, you’ll also find that curating and planning for this kind of content stream will change how the original content is created. For instance, the third set down in the screen capture to the right—the one of Mick from 100 Tacos + Katie (which you can click on the see larger); with that image, we created a panoramic photo—so, wide and not tall—knowing that we were going to split it up in this way.
Pretty cool, right?
The rub? Well, there are a few:
1. If you choose to embark on this fun-yet-admittedly-arduous path, you need to realize that, from here on out, you’ll need to always post in multiples of three, otherwise, your profile page will get all jumbled up and the sets will skew, as they did recently for TOMS (right).
2. You also need to realize that, even if you commit to posting in multiples of three, you need to commit to doing so pretty quickly or all at once, ideally, otherwise you’ll have the same skewing problem until you get that third image (or sixth or ninth if you’re doing larger blocks) in there.
3. Though the intrigue and audience pulling’s awesome, you do risk confusing some of your less tech-/image-savvy audience members who don’t get why there’s a third of a shoe on their feed, for instance. We think it’s worth the risk; others may disagree.
In our minds, the main headaches are those first two—they throw you into a category of work that requires more planning and some more dedicated time, especially if the three images need three different captions. Most of the time, especially if the three are part of a whole, we create the first caption, tags and all, and copy before posting so we can then quickly paste them in to the other two images, making for a pretty streamlined process. Adding the hashtags quickly too allows for Instagram users to generally see your full, correctly assembled banner for a bit when exploring via hashtags, allowing for new opt ins. We also generally edit images via Photoshop on a desktop rather than in IG, both so they’re ready to go for IG and so we can take advantage of the higher end perks of Photoshop. Also, we generally shoot on a wifi-less Canon SLR, so we have to transfer to a computer first anyway.
Again, there are easier ways to do this, so if you’re interested, feel free to look into those. We’re just self-abusing designers who love to create work for themselves, you know? In general though, we’ve seen more user engagement and a spike in account followers since taking this on. Plus it’s fun once you get used to the process.
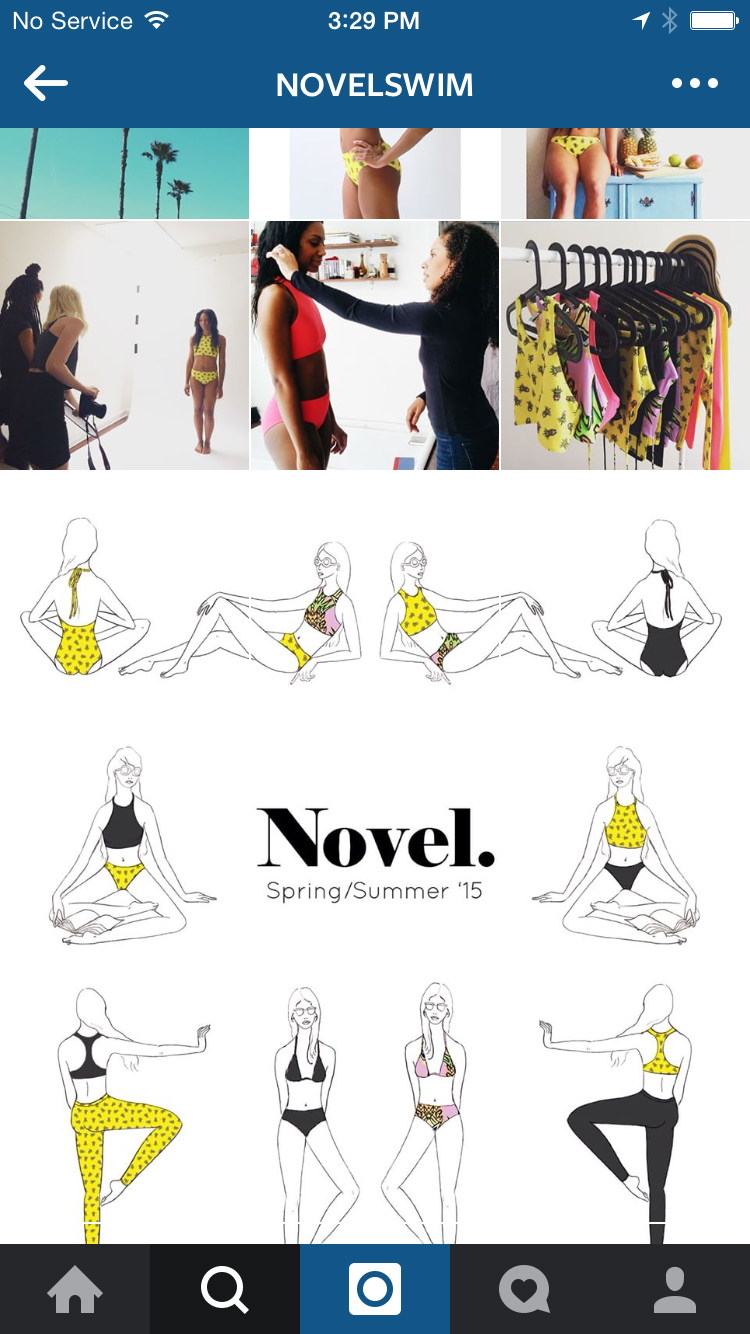
A few more examples from our MooShoes Instagram feed below and one from Novel Swim by Brooklyn illustrator Laura Rosenbaum, who premiered her company’s IG account with a pretty cool illustrated nine-piece block. Awesome work, Laura.