We’ve written in the space before about the CSA (community supported agriculture) group we belong to in Brooklyn, but, for anyone who hasn’t heard it before, it essentially works like this—we pay a lump sum to a farmer; said farmer grants us a temporary ‘share’ of the farm which manifests itself in the form of a weekly allotment of in-season produce; said farmer is thus supported by his/her community rather than, say, Monsanto, and we get a direct line of access to fresh food. Awesome, right? Answer: Right. Highly recommended.
One aspect of the particular CSA we belong to is that, since it’s run by its members, you have to work for a few hours every summer, setting up or breaking down the distribution site and making sure everyone picking up knows what’s what. For us, that’s actually a great thing because it means hanging out in a bucolic community garden in Park Slope and unplugging for a little while.
This past summer, while working such a shift, I struck up a conversation with a fellow CSA member who began telling me how she’d gotten into home fermenting as a way to preserve excess vegetables.
I had the same reaction you likely did—that sounds gross, lady, get away from me. As it turns out though, fermenting is just a form of pickling; the original form, in fact. Cultures across the world have been fermenting food as a means of preservation for thousands of years, the fact that most of us love the resulting taste is just a lucky side-effect.
Added bonus with home fermenting—it’s insanely easy. Honestly. Like many people, I had hesitations, worried I’d grow some sort of harmful bacteria and end up poisoning myself, but it’s terribly hard to mess up if done properly.
When I first started in last year, I was going off of my CSA conversation and a resulting reference to a Web site—Wild Fermentation, maintained by the author of The Art of Fermentation, Sandor Ellix Katz, AKA Sandorkraut. Not kidding. But the process described by Mr. Kraut + my fellow CSA member involved fermenting in an open-mouthed container (mason jars in my case) covered with cheesecloth. So there’s a ton of exposure to the open air, which can prove problematic for me at least. Some pickles came out tasting amazing, like my first one—pickled turnip greens + chili pepper flakes; some came out entirely inedible, like my pickled beets, which grew mold on the surface and tasted…like they had grown mold on the surface. I know. Bleh.
 But then, a breakthrough—we attended the Peck Slip Pickle Festival at the New Amsterdam Market where I spoke with Lauryn Chun, founder of Mother-in-Law’s Kimchi and author of the new, aptly named cookbook, The Kimchi Cookbook. Her reaction to my problematic method—close that lid, buddy. I don’t know she used those exact words, but, as she told me, traditional kimchi—which is essentially Korean pickled vegetables (you don’t have to make it spicy or use only Napa cabbage)—was made by preparing the vegetables, putting them in lidded clay jars, and then burying them in the ground. So pretty tightly closed up. Turns out pickling is a result of anaerobic fermentation, so you don’t have to have that access to the air to ferment and it’s a little more straightforward if you don’t.
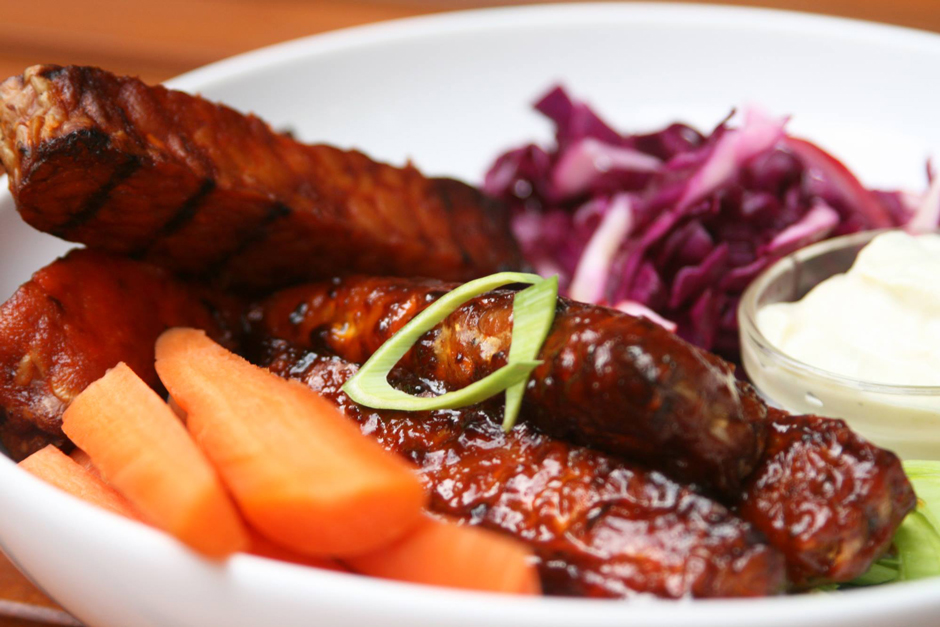
As soon as I got home, I went to work on a special Thanksgiving pickle (pictured above) using fresh cranberries, red cabbage, and beets. The result—well, I love it, but it’s definitely very pungent and likely not everyone’s thang, so to speak. Point is though, the process worked and every pickle since has gone off without a hitch, producing wonderfully unique side dishes and great condiments when we want to add that sour, unami taste to something, as with the pickled red onions we made (in the background above), which are great with tacos.
So how do you do it? Essentially, all you need to do is bring out the natural lactic acid in a vegetable to create a brine and then contain it while it ferments. To do that, you simply cut vegetables up into pieces—the smaller they are, the more quickly they’ll ferment but larger pieces will give more depth of taste—and then salt them with a good, coarse sea salt. Then leave the treated vegetables on a plate to break down for 45-60 minutes or so, depending on how resilient the vegetable is. If you have a vegetable particularly high in water content, like cucumbers or cabbage, you’ll eventually notice liquid pooling around the pieces. That’s what’ll become your brine. Once it seems sufficiently treated—really shouldn’t be much more than an hour, from my experience—place the vegetables in a sealable container (I use these French hermetic glass terrines, which are much less fancy than they sound) and fill with water to submerge the vegetables if the liquid that resulted from salting doesn’t do the job…which it usually doesn’t. Then place the filled container in a fairly cool, dark place like a closet. Be warned that this space could totally smell funkified after a day or two.
As far as how long you should ferment, it depends on the vegetable, how much lactic acid was produced, and how pickley you like things to taste. Mine usually go for 3 days to a week, but just let it sit for a few days and then start trying them every day until you get a taste you want.
If you’re hesitant still but want to give it a try, I’d recommend picking up The Kimchi Cookbook, which, while not an entirely vegan cookbook, does call out ways to make dishes vegan.
Now let’s get pickled!
Cover photo of Chun’s book and other photos below by Sara Remington.