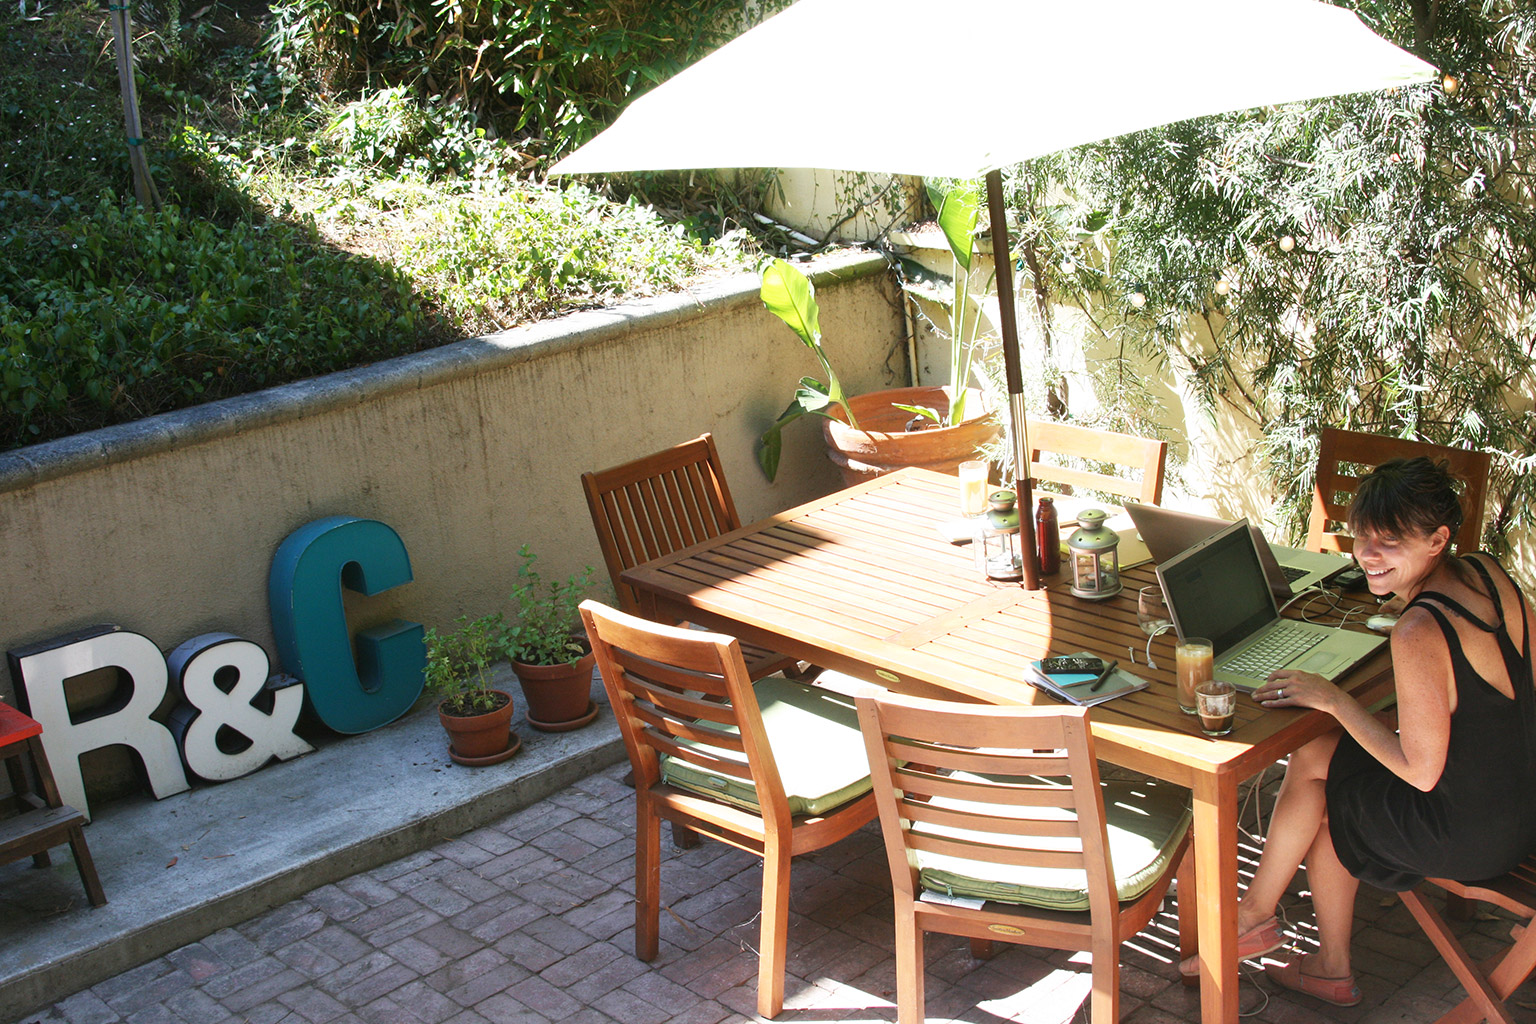
When we moved into our new studio in Boerum Hill this past November, we realized we needed to replace some of our old furniture. Things like run-down Ikea desks, found-on-the street weird wrought iron stools, and a multi-function filing cabinet/printer stand/cat sunning station weren’t cutting it any more.
So, we looked into some options and realized, as many sadly do, that our taste in material things and pickiness had far outgrown our actual budget. Boo to that, right? So, we did what any red-blooded American in her or his right mind would do. We wrote Katie’s dad to see if he could help us build some badass desks.
Katie’s dad, Joe, is an accomplished carpenter and we were pretty sure that, with him on board, we’d end up with something that A) looked a lot better than most everything else out there, B) wouldn’t end up as a pile of Scandinavian particle board dust in a year or two, and C) wouldn’t require that we name our first born as a down-payment.
Joe graciously agreed to help us out and we sketched a very primitive schematic up of what we were thinking—simple, yet functional plank top desks made out of solid wood—and started talking materials and timeline. We decided to go with oak wood over pine because, while pine was cheaper and lighter-weight, oak had a really nice density and seemed like it would stand up well to all the nervous tapping, impromptu table-top dance parties, and other design-related ware they were sure to endure over time. We figured, if we were going to make these things, we wanted to make them right. From there, Joe figured out what exactly we would need and how best to construct everything, then, while we were down in Virginia for the holidays, leaning on Joe heavily in figuring out how to do everything, we made ourselves some desks.
Joe had cut the major pieces down for us by the time we got there and even assembled the tops—5 planks each at .75″x6″x60″. He had used biscuits—not the flakey, buttery kind—between the planks to strengthen the table tops and then cut the tops down to the finished width and length, sanding everything down with 120 grit paper. Once we got there, we used a .25″ round-over bit to ease the edges on all sides. And yes, most of this terminology is straight from Joe himself. I barely know what I’m typing here.
We made the legs out of 2.5″x2.5×36″ pieces of oak and cut them down to a length of 29.25″ with a compound miter saw once we figured out about how high we wanted to aprons to sit above our knees. That’s Katie cutting one down there, with her dad making sure limbs stay intact in the process. We then rounded the edges of those with the .25″ round-over bit as well. This was especially important on the bottoms of the legs so, when the desks are moved, for instance, they don’t catch the floor and splinter or anything. We drilled two pilot holes at the top of each leg so that they could each receive 5/16″x2.5″ hanger bolts, which would let us attach the legs to the apron rather than attaching them directly to the top. Then we sanded them down with a 120 grit too. Oh, and if you’ve never used a rotary electric hand sander, you should. It’s like holding a hundred tiny magic sanding elves in the palm of your hand.
The apron itself, which is basically just a box that sits underneath the table top, giving the legs a place to more securely attach, was cut to size from .75″x4″ pieces. To allow for the corner braces that would be holding the legs to the apron, we cut an 1/8″ saw kerf 1.75″ from the end of each apron and an 1/8″ slot cut 1/2″ from the edge of one side. So, basically we cut channels in the wood that would allow the corner braces to fit in snugly. Again, we finished the apron with 120 grit paper. And magic elves. We fastened the corner braces to the hanger bolts using nuts and lock washers and then used pan head screws to fasten the corner braces to the apron. Next, we turned the table top over on the workbench and set the assembled apron and legs on the underside of the it. We inserted table top fastener clips into the apron slot, using four fasteners on each side apron and 2 fasteners on the end apron. Then we carefully marked and drilled anchor holes in the underside of the table top for #8-5/8″ round head wood screws, making sure that the screw lengths weren’t too deep for the top, and installed all the screws, loosely at first, then going back once they were all installed to firm them up. Then we turned the whole thing over, sanded down with 120, and did a lot of cheering.
The next step involved securing the one-way rental of a sizable enough vehicle to get these things back to New York, sitting in a lot of traffic on the New Jersey Expressway, and then a coat of a light Golden Oak finish to give them a more…um…finished look. We waited 24 hours and then applied three coats of a satin water-based polyurethane finish to prevent marking and give them a more durable exterior.
Again, half…if not more than half of what I just wrote, I barely understand…even though I was nearly involved with their making form start to finish. Which is a pretty cool feeling. That said, Katie and I owe a great debt to Joe for giving us some beautiful desks and that old school feeling of making something beautiful and substantial out of a pile of wood. If anyone has any question or would like any clarifications on my likely very rudimentary write up of these, feel free to post. I’ll see if I can get Joe on the line to clear things up. In the meantime, we have to work on our plans for next year: A clockwork gyro-copter!


